
[youtube https://www.youtube.com/watch?v=2GvXI67gdmk&w=580&h=385]
The large coffee tin is a combo pot stand, pot skirt, windscreen and wood burner bottom insulation when in use. You need to put two wood sticks under the tin if cooking on top of snow for stability once the stove gets hot. Add 32g of wood pellets (about 2 tablespoon full), light it and it burns for 10 minutes then the charcoal’ed wood pellets keep the water warm for another 5 before they mostly turns to ash. Takes 8 minutes to boil half litre of zero degree water at -9 degree air temperature. For snow I need to empty the charcoal remains after 10 minutes, add more snow then refuel and light to get a boil. During the hike it holds the fuel, lighter, small tweezers, methyl alcohol, 32g of wood pellets and one sheet of toilet paper per burn planned. and the contained pot holds instant coffee, miso soup mix, packaged breakfast oatmeal, hot chocolate packet, nuts and other snacks. There is no smoke and the flame in the burner is only visible through the small viewing portal. The burner is made from a tiny can that once held some baked bean sampler that Ontario Parks were giving out. Wood pellets are $6 for 40 lbs at Canadian Tire and other stores in Ontario. They are typically used for residential winter heating. A bag will heat the house for a day.
Making the stove then using it to cook some Ginger chicken.
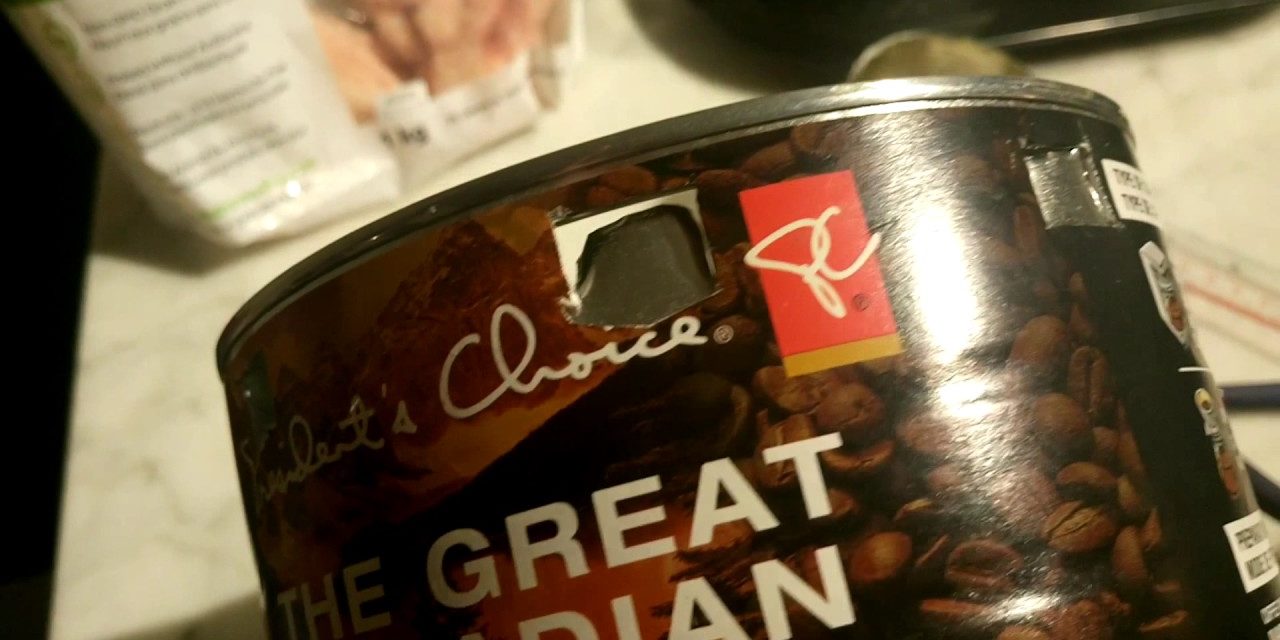
The tin can says The Great Canadian Coffee on it.
One scoop of wood pellets weight 32g and burns for about 9 to 11 minutes, depending on the amount of orange peel added, air temperature and if the stove is sitting on snow or concrete or wood.
Changes to the design afterward:
Reduce shiny creosote on the bottom of the pot by making the tube and the center hole bigger and lengthening the chimney by flattening the metal above the horizontal cut and pulling out the metal below the cut.
Added aluminum foil insulation between the horizontal cut and the bottom holes.
Enlarged the coffee can bottom holes.
Added a divider to prevent exhaust gas from the burner to feed back into its air intake.
Result is that there is almost no shiny creosote but much more powdery soot on the bottom of the pot.
The previous stoves were not so tightly enclosed; they were with or without a windscreen. This tin can enclosure caused the fuel to heat so much that it produced so much smoke and there were insufficient mixing of secondary air with the smoke due to the design. One thing I may try is to create a horizontal sheet metal surrounding the burner can at the fuel line. This should keep the fuel cool. There will be air vents in the sheet metal divider to allow secondary air to rise.
Some thoughts:
* the reason the flame is orange is because of unburned carbon solids in the rising flame giving off light. Without those particles, the flame would be blue. Some particles sticks to the bottom of the pot making the pot bottom black.
* there are three things that causes the bottom of the pot bottom to turn black, (1) the black powdery soot (2) the black shinny flake creosote, and (3) the black sticky tar.
* to prevent the pot from turning black, make sure the primary air holes has the correct airflow ratio with secondary air holes and the chimney airflow.
* since this stove is not adjustable, the flame tends to be the strongest about 70% into the the burn before it flames out.
* to keep the flame size more even, have the pot sit in about a teaspoonful of water before lighting the stove
* the water should be fully boiled off prior to the flame starts to reduce in size
* if the amount of charcoal remaining after the stove has cooled is greater than the amount without any water, then you have too much water.
The set of 5 stainless steel containers with plastic lids sold on eBay and Amazon for $8 to $12 USD is very likely what I have. But the lid comes from this which broke after just 2 use.
http://m.dhgate.com/product/110v-220v-mini-travel-electric-cooker-portable/377846687.html#pd-019
source

